Blogin Aarambha
Follow the steps below to get started with your WordPress Theme:
- Now log in to the WordPress admin dashboard.
- Go to Appearance> Themes > Add New > Upload theme.
- Upload blogin-aarambha.zip and Activate themes.

- After theme activation, you will get a notification to install and activate the required plugins.
- Click on Begin installing plugins.
- Install and Activate plugins.

- Install and activate the Aarambha Demo Sites plugin. which helps you to import demo data on your site.
- After that, you will find the Import Demo menu in the dashboard.


Inside Global > Color, you will see various color options. For example: If you change the color of the Link (Global > Color > Link), you can see the instant color change in all the places where you have used Link.

Go to Global > Typography, where you can choose your favorable Font Family and Font Weight.
- Base: To set Typography for the base of your website.
- H1-H6: Set heading H1 – H6 typography for page content.

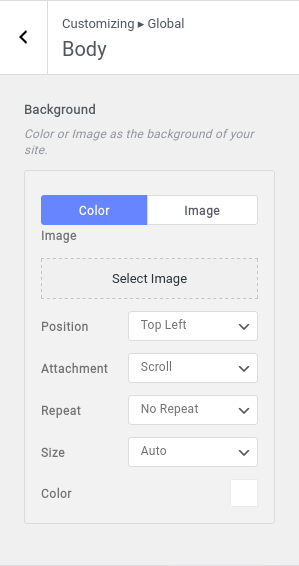
To set the site background as a color or image by just choosing a button, visit Global > Body.

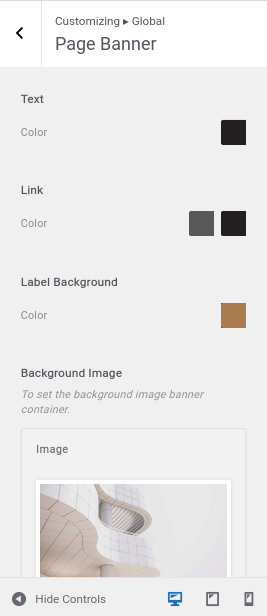
Go to the Global > Page Banner to customize text color, link color, link hover color, label background color, as well as the background image of the banner container, and Background overlay color on the banner container.
Global > Button helps you to customize the color and hover color of the font, border radius, and color and hover color of the background of the button.


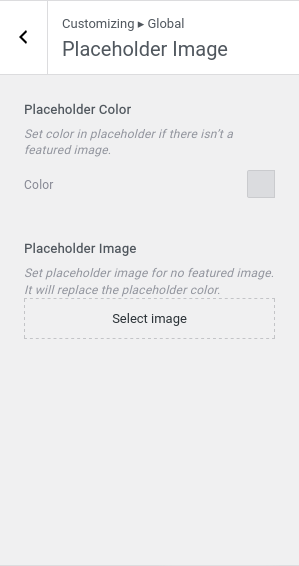
Set color in placeholder if there isn’t a featured image.
Or,
Set placeholder image for no featured image. It will replace the placeholder color.
Inside Customization > Header Builder, there are the following customization options:


Click on Customization > Header Builder > Bottom Row, there you can set Min Height and Background Overlay.

Inside Header Builder > Site Identity, there are general settings and styles.
- Site Identity covers,

- Likewise, you can customize the following styles,

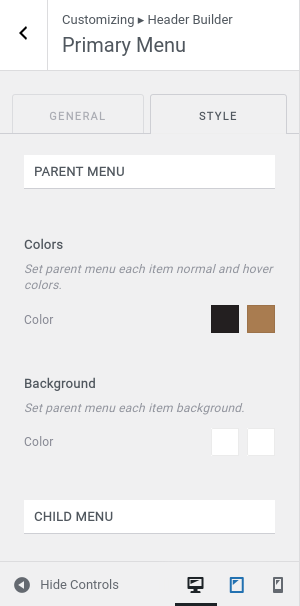
- To set Menu, Go To Primary Menu. Where you can set value for the parent menu spacing.

- Menu Spacing: Slide to change the value of Parent Menu Spacing.
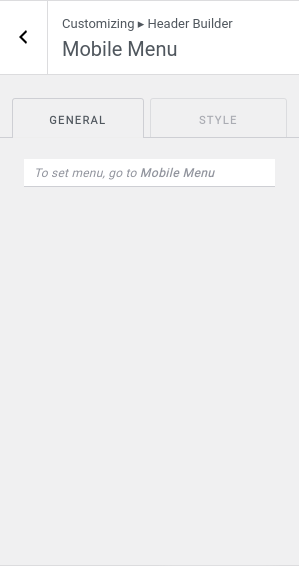
To set the menu, go to Mobile Menu.
To change the Menu icon and background styles, go to the style tab.

Add Buttons to your website to add links.

To add style on buttons, switch to the style tab.

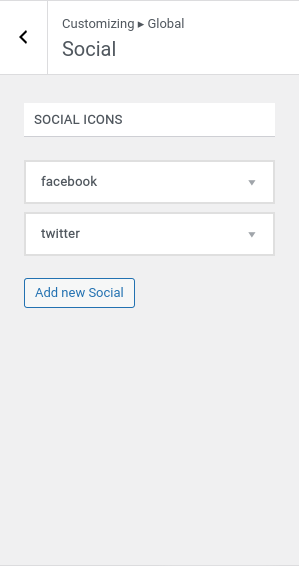
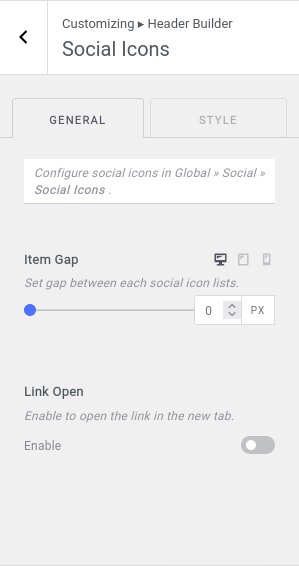
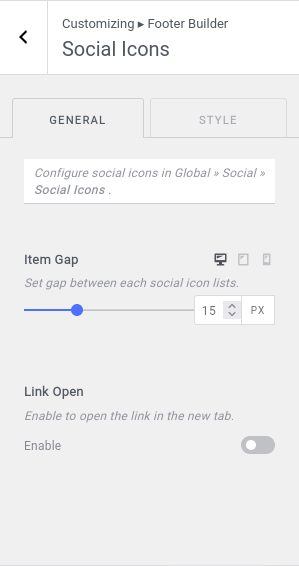
- Configure social icons in Global > Social > Social Icons >
- If you’ve already configured it, choose icons to display as text, Icon, or both.
- Set social icon size from Icon Size.
- Set Text Typography.
- Toggle to enable link opens in new window tab.
- Set social container padding.
- Set social container margin.
- To customize Items,
- Set each item’s icon and text as the same color.
- Set each item’s background color.
- Set each item border.
- Set each item box-shadow.
- Set each item padding.
- Set each item margin.

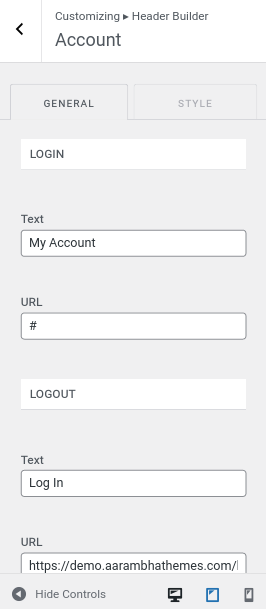
- Create Login URL and toggle to disable author avatar and replace with font awesome icon.
- Set Logout URL.
- Set account display as text, icon, or both.
- Add icon position and gap between icon and text.
- Configure account icon size.
- Toggle to enable link opens in new window tab.
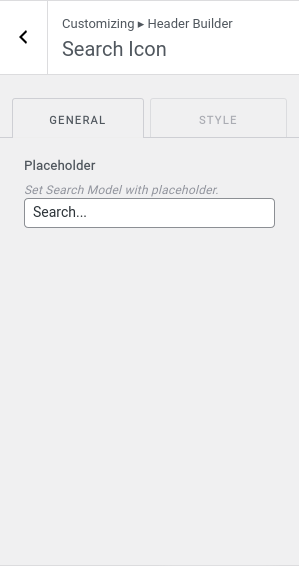
Set Search Model with a placeholder.
Also, configure button icon size. For more CSS customization, you can switch to the Style Section.

Enter Text/Simple HTML Code to customize manually. Select the Link color and set typography settings.

There are also sections for HTML container margin and padding.

Inside Header Builder, set a suitable Icon size for your website.

Also, customize the background color, margin, and padding of the container.

To customize the footer section, edit Footer Builder by choosing one of the suitable options for your website.

Set Container Layout as Standard, Full Width, or Contained.
- Choose the position for the content in the Left Column.
- For the top row center column content position, choose between Start, Center, or End options.
- Similarly, set the top row right column content position, and choose between by choosing the below options.

- Set Background overlay color for top row container.
- Set footer top row padding.

Just like in the Top Row, you can get similar customization steps inside Main Row too.

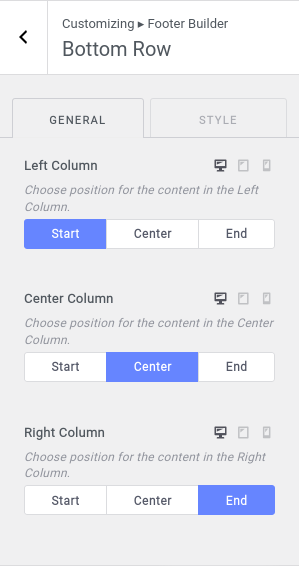
Similar to the Top Row and Main Row, Bottom Row also has left, center, and right columns, padding, background overlay settings, etc.
You can insert some arbitrary HTML code tags: {current_year} and {site_title}.

You can also customize copyright text color, padding, and margin.

- Set a gap between each social icon list.
- Enable to open the link in the new tab.
- Set social container padding.
- Customize social container margin.
- Set the icon and text of each item as the same color.
- Set each item’s background color.
- Set padding to each item.

Add buttons on the footer section from here. You can also customize those buttons with CSS.

Add additional features with HTML code here.

Also, add basic styles such as text color, link color, margin, and padding to the added sections.
To set the menu in the footer section, go to Footer Menu.
Customize menu spacing with the slider.

Altogether, customize the following sections on the footer menu with styles:
- Font Colors: Set menu normal and hover colors.
- Background: Set the background for each menu item.
- Container Padding: Set Padding to the Footer Menu.
- Container Margin: Set Margin to the Footer Menu.

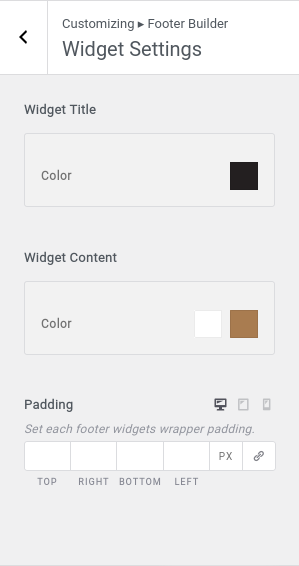
Go to Footer Builder > Widget Settings to customize widgets. There are multiple settings available:
- Widget Title: Choose a suitable color for the widget title.
- Widget Content: Customize normal and hover colors for widget content.
- Padding: Set each footer widget’s wrapper padding.
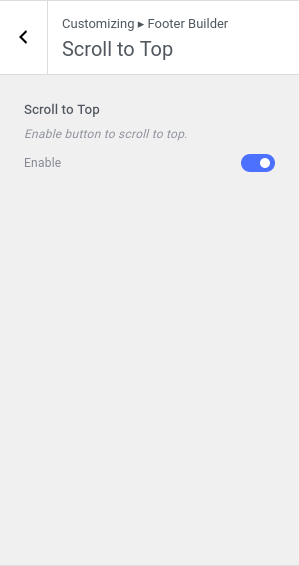
Add the Scroll to Top button to navigate top content from the bottom of the site. Enable the button to scroll to the top.
In Blog Posts, you will get to manage the following options as shown in the figure below;


Set proper size for featured image. Selecting a bigger image size may display a better appearance but takes more time on loading websites.


Added pagination to each blog and archive posts. Select pagination type next/prev or numeric value.

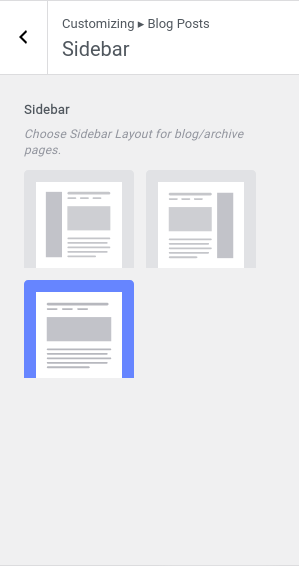
To choose Sidebar Layout for blog/archive pages, go to Blog/Archive Posts > Sidebar.


Set proper size for featured image. Selecting a bigger image size may display a better appearance but takes more time on loading websites.


Inside Single Post > Entry Content:
- Elements: Enable lists of elements and rearrange the vertical order by drag and drop.
- After Content: Enable lists of elements and rearrange the vertical order by drag and drop.


Visit Customize > Single Page. Customize Single Page with the following customization settings:


Set proper size for featured image. Selecting a bigger image size may display a better appearance but takes more time on loading websites.


You can make the following changes on Single Page > Entry Content:
- Elements: Enable lists of elements and rearrange the vertical order by drag and drop.
- After Content: Enable/Disable comment from page content area.


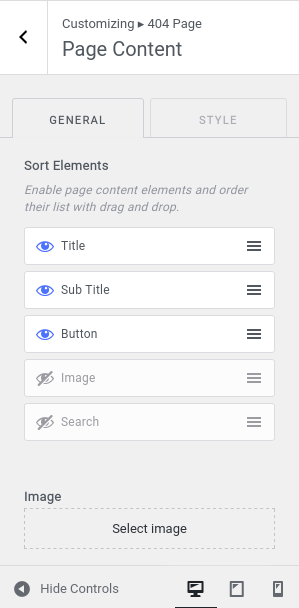
There are the following options available to customize error pages:
- Main Elements: Enable lists of page header main elements and rearrange the vertical order by drag and drop.
- Bottom Elements: Enable lists of page header bottom overlay elements and rearrange the horizontal order by drag and drop.

- Enable lists of page content elements and re-arrange their order by drag & drop with orders.
- Select the Image that you want to show on the error page.
- Set a 404-page content background image. Position, Attachment, repeat, and size options are also available for background image customization.
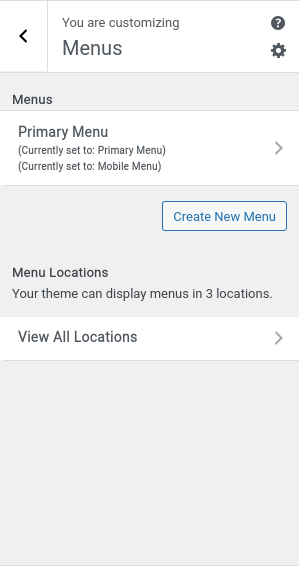
To customize menus, go to Customize > Menu.
- There you can add menus into the footer or Primary/Mobile menu.
- You can create a new menu.
- You can also view all menu locations available. Your theme can display menus in 3 locations.
Inside Primary Menu, you can add custom links for menus in different positions and reorder them.
Also, you can choose the menu locations where you want to add them. Likewise, you can enable menu options and automatically add new top-level pages to the menu.

Your theme can display menus in 3 locations. Select which menu appears in each location.
If your theme has widget areas, you can also add menus there. Visit the Widgets panel and add a “Navigation Menu widget” to display a menu in a sidebar or footer.

Your theme has 1 other widget area, but this particular page doesn’t display it.
You can navigate to other pages on your site while using Customizer to view and edit the widgets displayed on those pages.
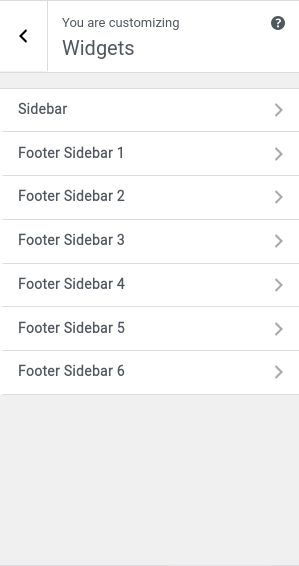

Display widgets on the footer section of the site. There are 6 footer sidebars that you can add to your website.

You can choose what’s displayed on the homepage of your site. It can be posted in reverse chronological order (classic blog), or fixed/static page. To set a static homepage, you first need to create two Pages. One will become the homepage, and the other will be where your posts are displayed.

With Hompage dropdown options, you can select which page you want to make homepage/frontpage.


Add your own CSS code here to customize the appearance and layout of your site.

